Saturday, November 2, 2013

Domestic Refurb: Paint and Decals


This is the final installment of the saga of the Domestic High Arm Fiddlebase.  Well, except for a future installment about DIY water slide decals.

only the faintest trace of a decal remained and so much paint was worn away that there were large patches of bare metal

This was the machine of my dreams, and I searched for it for a long time.  It had my essential requirements:  it was dirt cheap, it had all the significant parts, everything turned.  AND it was in horrible cosmetic condition.  Yep, that's what I was looking for.

I've been yearning to paint a sewing machine.  This was the perfect machine to experiment on.

Here's how to paint a sewing machine:
(this is folklore, by the way, meaning I have read about it online, but have not done it myself)
  • Remove ALL the original paint, chemically and/or by sanding
  • Patch/fill rough areas with some kind of auto body stuff
  • Sand it down
  • Prime it. Maybe another sanding here too
  • Spray with automotive paint
    • Be obsessive about plugging holes and taping
  • Apply decals
  • Apply clear coat
I ignored most of that and followed the beat of a different drummer.

On my first venture into painting a machine I didn't want to do that much work and I doubted that I had the skill to do it.  After all, with a glassy automotive finish, EVERY tiny flaw in the smoothness of the surface would be glaringly obvious.

Also glaringly obvious and right in front of me was the answer:  the hammered Rustoleum that I fell totally in love with when I painted the irons for this machine.  The hammered finish has a three-dimensional texture to it.  At the same time it is very glossy and slippery, so the texture should not interfere with fabric sliding across it.

I also wanted to try making my own water slide decals.  I'll say more about making the decals in a future post.  This one is going to be long enough!  So the decals will just magically appear in the sequence of events below.


The Third Experiment:  Painting a Sewing Machine Head


I cleaned the machine thoroughly inside and out.  I knocked off anything that looked like it might chip.  There were plenty of chips already.  I sanded, but only to create a rough surface for the paint to adhere to, not to smooth out all those chips.  The chips remained.  Then I cleaned it again with denatured alcohol to get any dust off.

Then I just started slapping the paint on.  Yeah, really.  I didn't plug all the little holes, I just painted carefully around them, first with a small aritsts type brush.


You can see in the photo the small cup of Rustoleum that I used, thus keeping the lid on the can and keeping it from gunking up.

Here a warning:  You MUST buy xylol (a thinner) when you use Rustoleum.  Even if you plan to just throw the brush away afterwards, you need to keep dipping the brush in a bit of xylol from time to time or the Rustoleum will begin to harden in your brush.  Sorry to mention this again, but the memory of my first and xylol-free Rustoleum experience still burns a bit.


I began getting excited with the first coat of paint, but it was still pretty funky.


It would have been WAY easier if I could have figured out how to get the handwheel off, but no one online had a solution.  Thanks to all who offered suggestions, including Jim who pursued this with me over the course of several emails. 

Since the handwheel didn't come off, the small paintbrush and some attention to detail were needed.  It wasn't as bad as I feared.


The second coat could be put on within a few hours (according to the can) and it looked even better.  But still obviously not finished.


At this point I can really tell how it is going to look.


The three-dimensional texture of the hammered finish completely hides all those chips in the original paint.  You absolutely cannot see them.

A wait of seven days for those first two layers of paint to cure. 

Third coat of paint, decals, three sprays of clear coat.  And here we are.


You see the resemblance, don't you, to Lagertha Lothbrok?  Strong and beautiful.  I was thinking of her, but my interest in Vikings goes back decades before the History Channel series.  Shoot, I am old enough to remember when Helge and Anne Stine Ingstad changed the history of the world.  And that's enough Viking geeking for a sewing machine blog.

So, why Vikings?  Were they known for the quality of the sewing machines they produced?  A thousand years ago?  Not so much.

So, why Vikings?  For black line art, the Vikings (and the Celts) can't be beat.  The sources of these images are here.


The back of the arm reveals what this machine actually is.  After all, a google search of "Shield Maiden" is not going to help a future owner find out about this machine.  As if I would ever release it back into the wild.

Not to mention all the explicit information on the pillar.

The stitch length knob is at the BACK of the pillar


DragonPoodle Studio, btw, started as a silly name for my basement sewing room, formerly the family room.  It keeps me humble because now I am stuck with the name.

This gives you the best look at the chip-hiding texture of the paint


Is she drop-dead gorgeous?  I know what I think, what do you think?

Will Rustoleum-over-old-japanned-finish hold up over time?  I have absolutely no idea.  But it was really, really easy.  Just don't forget that xylol. 

Would I do this again?  HECK, yes!  Next time, color.  Lovely, luscious color.  And probably gorgeous full blown roses.  I have a machine in mind for it, too.

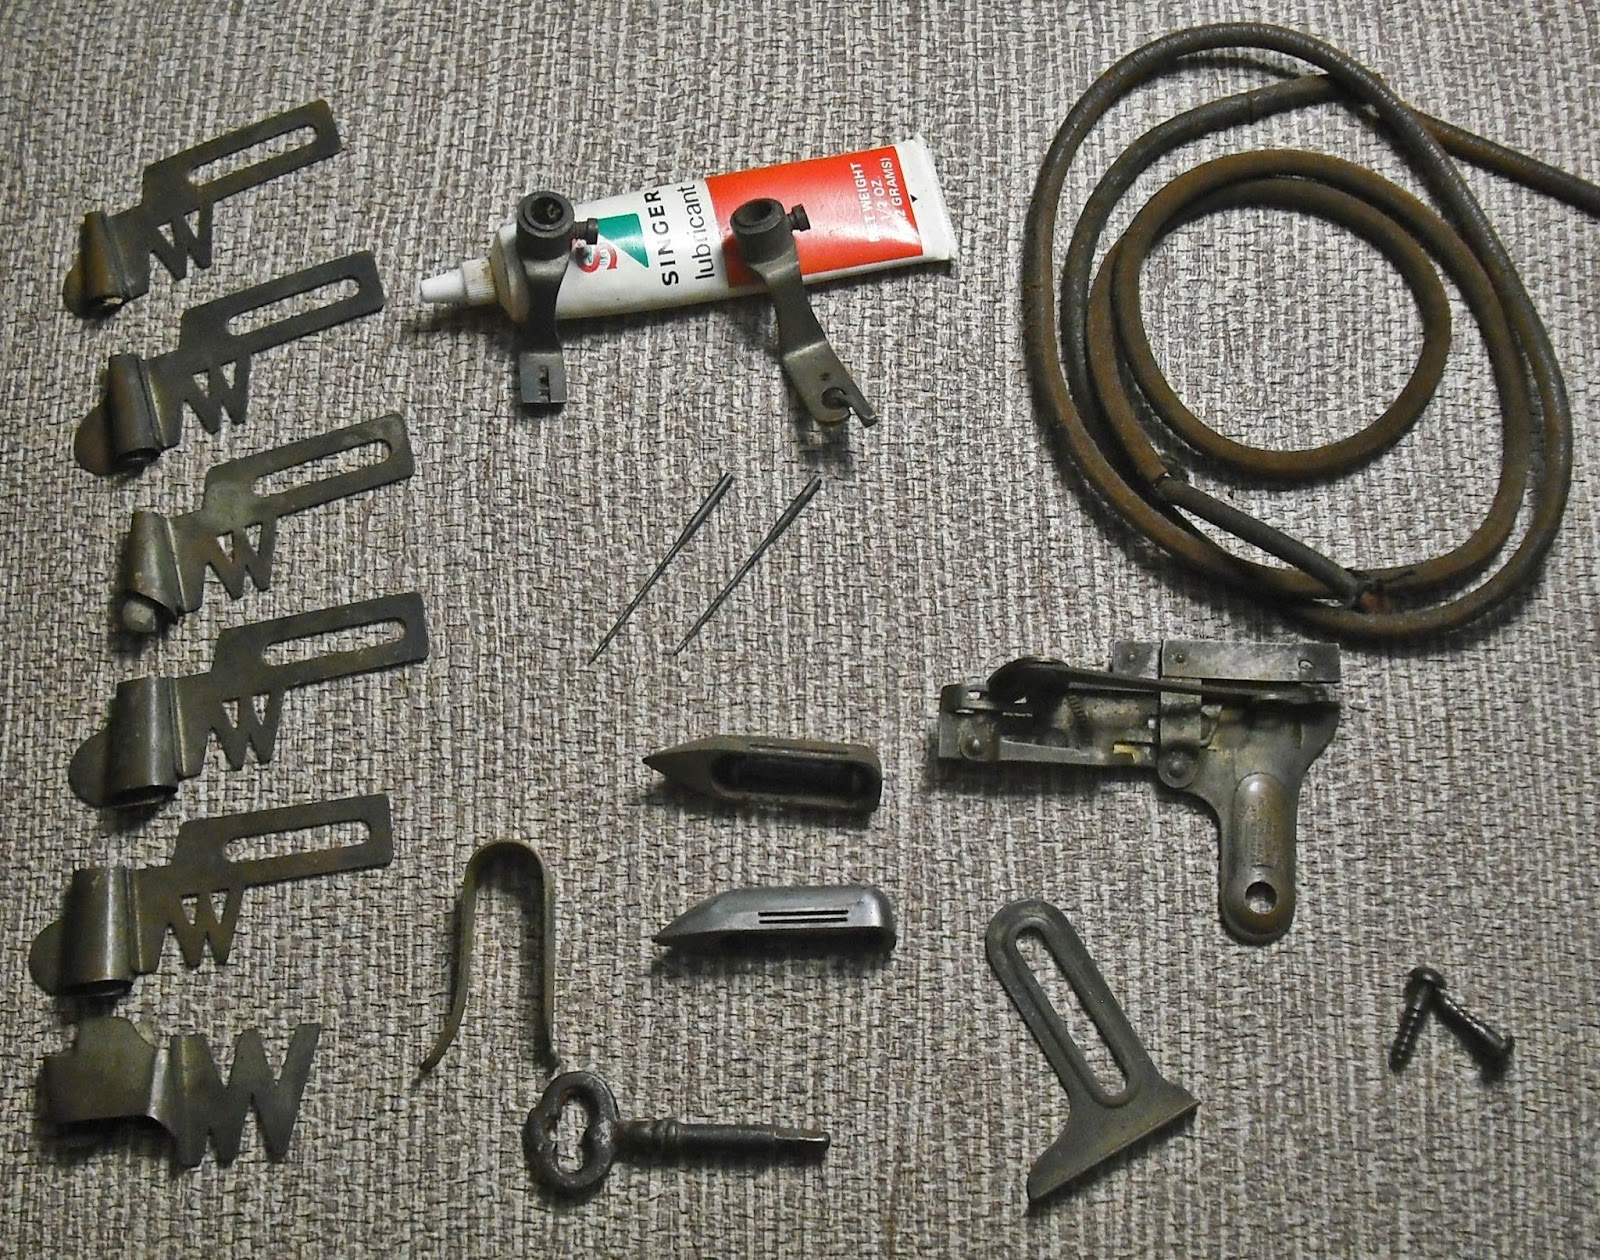
Oh, and I still have not sewn with it.  All I have to do is install the treadle belt, and wind the bobbin.  It will happen eventually.

Saturday, October 26, 2013

Domestic Refurb: The Cabinet and Bonnet


The saga of the Domestic High Arm Fiddlebase continues.  This was a cheap and very dirty machine that I bought for the specific purpose of having something to experiment on.  No before pictures, I am afraid.  But picture, if you will, something very dark and very brown sitting in the back of a dark garage.  All of my fellow VSMAD* sufferers will have seen something just like it.

*Vintage Sewing Machine Acquisition Disorder

All of these old machines come with water ring marks on the tops, standard.  I think there was a law that said that you had to put a potted fern on top of them.  My usual practice has been to use Howard's Restor-a-Finish which is an easy to use miracle product that melts and removes a bit of the old finish, lays down some pigment, and in general works wonders. You can see a before and after here near the bottom of the post.

Howard's isn't a refinishing system, and it won't do everything.  I wanted to play around with more drastic measures.  The Domestic top had plenty of water rings and other black stains to provide the challenge.

The Second Experiment:  Applying Lots Of Chemicals To Wood

(see the last post for the first experiment:  painting the irons with hammered Rustoleum)

I stripped off the finish with alcohol.  I used wood bleach.  I used a Clorox bleach gel pen.  I sanded.  I scraped.  I stained.  I stained some more.  I stripped off the stain I had laid down.  I sanded and scraped and bleached some more.  I learned a lot.  I learned that attempting to learn furniture refinishing by reading the labels on the cans of products is pointless.    I learned that a one hundred year old stain or burn mark is probably just meant to be there.  ESPECIALLY the burn mark.  Nothing touched that sucker.


And finally I learned that I love Howard's Restor-a-Finish.  I would not bother with all this again.  But it kept me interested and absorbed for many hours and I enjoyed it.  No regrets. 

All that effort did lead to a marked improvement in the appearance of the top.  But what I was hoping for was smooth and even color with no stains.  Didn't happen.  But it is a lot better.


The Clorox bleach gel pen was the most effective at tackling the black stains.


Here's a "during" photo, when I asked the blog readers to help me figure out what the mystery holes in the top were for.  Lots of interesting ideas emerged both on the blog and through private messages, so thanks everyone.  One of the messages lead to a discovery that Domestic made another model with the same fiddlebase footprint.  So the operating hypothesis is that they drilled holes in all the cabinet tops to fit either model. 


The old dried up caulk that was in the holes is still a mystery, but Danielle revealed that her Domestic had a very thick felt packed in the holes.  So maybe the caulk was a later addition by an owner who cleaned out the old felt.  I'm going with felt rather than bathtub caulk. 

One of the woodworking things that I have learned how to do is glue things back together.  The not-so-secret?  Clamps.  You need plenty of them, and the right sizes.  I'm in love with clamps.  Keep in mind that I am a TOTAL newbie at all things wooden, and completely (and badly) self-taught.  Needing bases to hold up vintage sewing machines was the driving force that propelled me to experiment.  That, and buying sewing machines from shopgoodwill.com (they all arrived with their bases broken or completely smashed.  I know better now.)

The Domestic had tight veneer, no loose edges, a nice surprise.  But the bonnet had plenty of issues.  The body of the bonnet had separated from the wood along the bottom edge.  The top was also loose.  Easy glue-and-clamps projects.


The front of the bonnet has what I will call appliques in a decorative wood.  The same decorative wood is on the front of the cabinet drawers.  None of this was visible before I stripped the old dark brown finish off.  What a lovely surprise!


And that center drawer has holes for the bobbins.  The machine came with a shuttle and one bobbin.


The wood appliques are no longer flat--over time they have curled and separated from the bonnet a bit.  My fear was that if I tried to force them back flat with glue and clamps, they would just split.  They don't seem to be in danger of falling off, so I will leave them alone.

Every refurb project is an endless series of decisions.


The wood trim on the top of the front of the bonnet was broken, with a large missing chunk.  The trim on the back is fine.  I thought about swapping them, but once I removed the one on the front I decided that good enough was good enough.  And I could always swap it later.

that's a shadow upper left, not a black mark
I thought about touching up the gold paint on the Domestic logo but decided that the chances of really messing things up were just too high.  Cost/benefit analysis.

Once I decided that I had gone as far as I was going to go on each aspect of the cabinet and bonnet, I topped it all off with a tung oil finish.   Super easy (read the can, I would not insult your intelligence by pretending that I am qualified to instruct anyone on anything wood related).  It comes in matte and glossy.  I started with the matte, which was too matte.  So I added the glossy, which is glossier than I liked at first.  But taken in conjunction with the gleaming beauty of the irons (see last post), and other aspects of the machine to be revealed in the future, the glossy is just great.


The machine originally had two mis-matched knobs for three drawers.  I found some interesting black metal knobs at Lowe's and added one coat of copper hammered Rustoleum.  It ran down into the low spots of the design and created EXACTLY the effect that I had in my mind.  How often does THAT happen?


 The End Results

Better than I could have hoped, not because my experiments were so successful, but because removing the old finish revealed the beauty of the wood.


And next time, the Big Reveal of the machine head..........

stay tuned, folks

Saturday, October 12, 2013

Domestic Refurb: The Irons

For quite I while I was on the lookout for a cheap treadle that I could experiment on.  But I have some standards, even when it comes to cheap thrills, and it took a while.

This Domestic High Arm Fiddle Base was only $35, in the minimum condition I would consider buying.


Yes, the irons had a bit of surface rust, but all the parts were solid and it was moving properly, if very sluggishly. 

Yes, the wood cabinet and bonnet had stains and some separation anxieties, but nothing that my lovely collection of clamps and some wood glue could not tackle. 


 Last years rolling splurge was on clamps--on every trip to the hardware store a few more of them followed me home.

Yes, the machine head is bereft of decals and bare of paint in places, but the bobbin and shuttle are there as are the leaf tensioner and the bobbin winder.  Not to mention BOTH bobbin covers (see photo above).  Replacing any one of these would immediately take this one out of the "cheap" category.


Stripped down for cleaning.  Paint is just gone in big patches

There are no "before" pictures of the irons, but when I tell you that it took me ten hours to clean them, you can develop your own "before" pictures.

I've written about cleaning irons before, but the basic story is Formula 409 and steel wool.  Over and over and over again.  This will also remove flaking paint and maybe even a bit of the rust.   Not recommended for beautiful and rare treadles.  Proceed at your own risk and don't blame me.

It got repeated doses of sewing machine oil in all the moving parts throughout the cleaning process, and I ran the treadle each time.  The oil replaces any Formula 409 that has snuck into the joints of the thing.  The repeated movement helps them loosen up.  Exactly like my own knees.

With all the filth removed I could see what I had.  The irons were in decent shape, although with a lot of paint gone.  The gold letters were chipped and were sloppily painted.  The foot pedal was rusty.  Not rusted through, just lightly rusty.

First experiment:  painting the irons 

Not an earth-shaking experiment, just something I had never done before.  I painted the irons with black hammered Rustoleum.  Two coats.  A fairly tedious job, btw.  Used a paintbrush and took care not to get it into the moving parts, which meant not moving the paintbrush right up to the edges of the joints.  You can get away with this in a black-over-black paint job!

I wish I could take photographs that would show the beauty of sewing machines.  But then I would have to be obsessed with photography instead of (or in addition to) sewing machines.  Sadly these photos do not do this paint job justice.  It just GLEAMS, and not a single one of the photos even begins to convey this.

I signed and dated the paint job on the top of the support beam, where it will never be seen again until someone disassembles it
Hammered paint goes on like regular paint, then some kind of chemical magic happens and the surface becomes attractively mottled in appearance and texture.  Honestly, this did not come out very hammer-y.  Could it be because that can of paint had been sitting on the shelf unopened for maybe 10 years?  Maybe more?  I did stir it thoroughly.  Oh well, it is a gorgeous gun-metal gray, a color more in harmony with an antique machine than glossy black.

If you try the hammered paint, don't forget to pick up the xylol while you are at the hardware store.  Nothing else will thin it, clean your brushes OR keep it manageable while you are using it--it drys and gets thick fast and needs the occasional splash of xylol to keep the brush from ossifying.  (This is also true of Rustoleum that is NOT already ten years old ).

I used a Sharpie gold metallic oil paint pen (not a regular metallic sharpie) on the letters.  Its a dull rather than bright gold and I think it looks just right.  I've got a big collection of gold pens of all types and this one hands down was the best for this task.


The "Domestic" on the foot pedal did not originally have gold paint on it.  But it was crying out to be gold, don't you think?


Artists (including photographers) see the world differently than I do.  They actually "see" the world.  I just stumble through it in my fuzzy slippers.  If I had an artist's DNA I would have spotted the shadow effect immediately and could have really done something with it.  Oh, well. 


Friday, September 27, 2013

The Mr. Enabler Memorial Sewing Machine Collection

I've had plenty of time to think about how to write this post.

This blog is about sewing and sewing machines, and anything else crafty-related that I want to talk about.  It is not about my personal life.

But sometimes things happen that just cannot go unmentioned.

I am now a widow.

And that is all I am going to say about that.  So, since I am not talking about that, but yet I have to, let's talk about sewing machines.  Specifically, all the sewing machines that the late DH, known here on the blog as "Mr. Enabler" bought for me or encouraged me to buy.

He was always supportive of my hobbies and proud of the things I created. Now, I doubt if he really gave a flying fig for sewing machines, but he found a way to be interested.  After all, once the bug bit me it was all I was talking about.  Endlessly.

His path into this world was through history.  He always wanted to know the dates of the machines, and his constant refrain was "why don't you look for an even older one?"

It began at the 2011 NC TOGA (Treadle On Gathering and Academy).  He was recovering from major surgery, yet he insisted that we go.  He really wanted me to have some fun after all the medical drama.  He stayed in the motel room resting, and I came and went from the TOGA when I could.

I had brought plenty of cash to possibly buy some tasty machines, but then someone hacked my debit card, my bank spotted it, informed me, and cancelled the card.  So good thing we had a pocket full of cash along with us!  Nothing quite like having your card hacked while you are on vacation.

This was the first time he brought up the idea of buying a really old machine.  I had seen one that might fit the bill sitting on the floor marked $5.00, all rusty and pathetic looking.  By the time I got back to it the price had been marked down to "free" but I found the owner and gave her the $5.00 anyway.  From the leaf tensioner and VS system I figured it was older than anything I had at the time.

We didn't know what it was when we bought it, so we called it "The Elder"
Regular blog readers have seen this (and most of the other machines in this post) before.  Eventually I got it cleaned up and this past spring I even got it working.

We eventually discovered that this is a National Expert BT Vibrator

Recognizing a full blown obsession when he saw one, he quickly decided that the question to ask before birthdays, Mother's Day, and even Valentine's Day was "Why don't you buy yourself a nice sewing machine?"  And since I knew what his interest was, I interpreted "nice" as "older".

We were old enough, and married long enough, to have figured out that gift-giving always works if the person picks out their own present.


1897 Singer 28, original hand crank.  As found, I did nothing other than oil it.
Mother's Day one year brought in this beauty.  And if you have only experienced reproduction hand cranks, be thankful.  Because once you sew with an original hand crank you will break down and weep whenever you have to use a repro.  Better than nothing, but that's all.

The case for the Singer 28 would benefit from some work, but it hasn't happened yet.
A birthday found me looking on eBay at Wolfgang's Collectibles.  I usually don't bother with eBay because of all the shipping horror stories.  But Mike at Wolfgang's is known to be reliable, and he deals in the best of the oldest.  At that time I didn't find anything from him, but spotted a very fuzzy photo with a completely inadequate description ("old sewing machine") of a machine that a nearby charity shop was selling on eBay.  I took a chance, nobody else did, and for $40 got the most gorgeous machine of my collection.  And I picked it up, no shipping so no shipping damage.

Circa 1880 New Home New National, original hand crank
The decals on this one are almost, but not quite, pristine.  I actually prefer it this way.  If it were flawless I would NEVER sew on it. 

This also is "as found".  It required nothing other than a few drops of oil.

I don't remember how I came up with the "1880"  date.  Maybe a wild guess.  Maybe somebody I believed in told me. 
 And it came with a box of original goodies.

There was a repair receipt from 1978 in the box, and several packs of Kenmore ball point sewing machine needles. 

So my deduction is that someone got the urge to sew during the Great Doubleknit Craze of the late 70's (been there, done that), and dusted off great grannie's machine.  Probably didn't work out as well as she hoped, and back into the bentwood case it went


last photo of decals.  you can wipe the drool off of your computer now,.
y
For it to remain this beautiful for this long, it must have lived most of its life protected inside its case.


The next birthday saw us taking a road trip to Lexington, NC in pursuit of a CraigsList machine of unknown date.


It came with a top


and a bunch of goodies in the little drawer


I was attracted by the big flywheel in the back and the adorable "feet" pedal


and a fascinating tensioner


It turns freely but needs some adjustments.  I haven't really tried to sew on it yet.

Googling produced the information that "Wilson" was a company totally unrelated to "Wheeler & Wilson", but very little else.  However, I did find an antique print ad on Amazon from 1871 showing this exact machine.  The documentation that came with the ad says that the model is "Ballou".


Our final outing took us to a nearby city on another CraigList quest.  This time we scored the Domestic I have been writing about recently.  That is still a work-in-progress, so I will show it to you later.  But soon.

There is usually a narrative to these blog posts, and at this point I wrap it up, give you the punch line, tie all the threads together or something like that.  Not this time.  And, for this post only, you will not be able to post comments.  I do assume that you wish me well (and thanks, btw), but this blog has been, and will remain, a blog about sewing, crafts, and sewing machines.  Mostly sewing machines.

Thursday, August 22, 2013

Books! Real books printed on paper. I had forgotten...

I love my Kindle.  I really, really love my Kindle.  And the fact that it syncs with my phone and tablet and I can pick up on my reading on any of them and not lose my place.     love, love, love

In fact, of the thousands (yes, no kidding) of books that used to live with me, most are long gone.  Three categories remain:  classic mysteries (in case civilization fails, I will still have something to read), Arthuriana, and useful-in-the-studio books.  Design and process mostly.

All the following books are in my own library.  All are great in their own various ways.  All the links take you to amazon.com, which does not pay me to do this.  My financial relationship with amazon is that a lot of my money flows through them to various vendors.


Celtic Designs: An Arts And Crafts Source Book.  By David James.


The decal design for the Domestic (see previous posts) will feature Celtic knotwork type designs, and I am ready to begin that part of the process.  So I went down to the studio and rounded up my Celtic design books.  And immediately became very, very happy.


Celtic Stained Glass Coloring Book.  By Courtney Davis.


Initially I thought I would find designs online, but the process was just not fun.  The minute I had an actual book in my hands I was happy and excited.


Celtic Borders & Decoration.  By Courtney Davis.


Nice to remember the thrill of books.  Not giving up the Kindle, though.  For a straight read, it is just the content that matters, not the delivery system.  But for looking at pictures and trying to find one I want, give me a book.  On paper.  That I can put sticky notes on.


Celtic Design. The Dragon And The Griffin:  The Viking Impact.  By Aidan Meehan.

My favorite of all these books, not only because it was a gift from a DD, but because she knew that this would ring SEVERAL of my chimes: art, history, history of art, geography, geography of art.  Not to mention those fabulous Celts and Vikings.  And did I mention dragons?


And now we draw a modest veil over the further proceedings.  Was a scanner implicated?  Were the copyright laws violated?  If you publish a book of designs for artists and crafters, should you not expect that they would blatantly, literally copy them?  Rather than just provide a "source of inspiration" as this book says.

Great Book Of Celtic Patterns:The Ultimate Design Sourcebook for Artists and Crafters.  By Lora S. Irish.


Actually, that last book (terrific book, btw) just did not work for my nefarious plans.  The weight or thickness of the lines in the drawings was too light.  Absolutely great for illustrating the structure of all those tortured Celtic knot animals, but too thin to show up as a nice design element on a sewing machine.  If you're using a scanner.  Which I am not admitting to.


The Ridiculous Economics of Hobbies

or, what I did on my summer stay-cation.

No photos in this post.  Shhh, the whole project is secret.  No one but me will see it until it is finished.

Earlier this summer I bought a very sad and pitiful Domestic High Arm Fiddlebase treadle.  It was $35 on CraigsList and I didn't even try to offer less.  I love to meet sellers who are realistic about the value of old machines.  This lady had several old machines and was quite knowledgeable about them.  She does some kind of re-enactments or ren faires or something (hey, it was more than 2 minutes ago, you don't seriously expect me to remember, do you?).  And she uses antique machines to sew those costumes.

I had been looking for some kind of machine to do experiments on.  Something with relatively no value.  Now, I would not give a hoot if some politically-correct purist called me out for 'tampering' with history.  But I do have my own set of values about this stuff, and usually I do the minimum amount to get a machine clean and running.  But I wanted one I could do ANYTHING to without feeling guilty.  This is that machine.

The big reveal will come later, when I have finished transforming it into a work of wondrous beauty.  But while you are sitting on the edge of your seat waiting, I thought I would share with you the ridiculous economics of this hobby.

Disclaimer:  prices rounded off.  If I didn't remember what I paid, and I usually did not, I looked it up on Amazon.   This economic analysis is for your amusement only, it is not IRS-ready.  My sister in law (bookkeeper and studying to be an accountant) will certainly laugh at my reasoning below.

Here they are, in the order I remembered them. And I almost certainly forgot some things.

$35.00     Machine, cabinet, treadle
$ 4.00      Formula 409, quart bottle. I used it all on the treadle irons.
$ 8.00      0000 steel wool, two packages.  used a lot, probably as much as two packages.
$ 5.00      Denatured alcohol, gallon, cost about $20.  I may have used a quart of it, and will certainly use the rest on other projects, so I am listing this one as $5.00
Free         Old toothbrushes, old rags
$ 3.00      Paper towels, the heavy duty blue shop towels.  Those thing are awesome.  At least one roll.
$ 1.00      Q-tips, the cheap ones from the dollar store.  The cheap ones are actually better because they are less fuzzy.  May have used half the pack.
$15.00     Paint, one quart of Rustoleum hammered black.  This had been sitting in my workshop, unopened, for YEARS.  May have used as much as one cup of the quart.  Not planning to paint treadle irons again, though, so I am listing the full price.
$15.00     Paint, one quart of Rustoleum hammered copper, bought new.  Used a few tablespoons of it.  Have no future plans for it, so this one and the black are listed here at their full price.
$19.00     Xylol, one gallon, to thin or clean up after the hammered Rustoleum.  A gallon was all they had.  Used a few tablespoons.  Yes, this IS the most ridiculous thing on the list---but I absolutely had to have it, and I absolutely had to have it on the day I bought it, so no shopping around.
$ 6.00      Sharpie gold metallic paint marker.  Used the whole thing.
$ 4.00      A set of six detail paint brushes.  Blew through 4 of them BEFORE I got my hands on the xylol, so those turned out to be disposables.
$ 2.00     Two cheap 1" paint brushes.  See above.
$11.00     Wood bleach, 12 oz.  Only used a bit and will probably never use it again.  More on this later when I describe the project.
$ 1.00       Latex disposable gloves.  Price based on a portion of a box.  I like the ones with powder inside.
$10.00      Clear coat spray paint.
$ 6.00       Decal setting solution.
$17.00      DIY decal sheets, ten.  I haven't done the decals yet, so I don't know how much of this or the clear coat I will use.  Probably at least two of the decal sheets, though.  Whether I ever use the rest of them depends on how well this project turns out.
$10.00     Wood stain, 2 cans, dark and medium.  Did not work out well, but I might use them for other projects in the future.
$ 2.00     Tung oil, quart, $17.00 but enough for several projects.  So I just guessed at the $2 number.  I liked it a lot when I used it on my Davis NVF, not so much on this project.  So the future of the rest of this quart is uncertain.
$ 5.00      Sandpaper
$ 6.00      Knobs, metal, three.  Actually I have no memory of what I paid for them.
$11.00     Sewing machine needles, three.  Yes, it takes obscure and obsolete needles.  Of course.


$196 total.  mwahahahaha.   Is this now what the machine is "worth"?   MWAHAHAHAHA.

How about adding in the labor?  I have a general idea of the time I spent (and will spend to finish), and it is somewhere between 100 and 150 hours.  No kidding.

Let's be conservative and say 100 hours.  My time (and yours, and everyone else's) is worth $25/hour at a minimum.  The guy who mows my yard charges more than this.  Are you worth less?  No.

$196 + (100 hours x $25) = $2696.  Yeah.  Right.

So what is the REAL economic story here?  For less than $200 I amused myself no end for over 100 hours.  I have lots of chemicals and supplies left over for future projects.  I will have an amazing sewing machine like no other at the end of the project.  It will be worth $35.  It might even sew.  I don't know, I haven't tried yet.

Yes, you heard that right. I have not tested it yet. I started dis-assembling it for cleaning and painting before those precious antique needles arrived.  The point of this project was the experimentation, not the end product.

Are you anxious to see that final product now?  So am I.  One more coat of paint and then the decal creation and application to go.

I don't usually spend 100+ hours on a machine, but this summer has been a b.  You can spell the rest of it for yourself.  And I am not talking about the weather.

There are many of us who use craft and hobbies to distract ourselves from the unpleasant realities of life.  If you are also one of those people, please know that you are not alone.  If you are feeling alone, start a blog.  You might be amazed at where it will lead you.

Sunday, August 11, 2013

Domestic High Arm: Handwheel Conundrum

Back again with more questions for the cognoscenti about my Domestic High Arm Fiddlebase.

This time, I am stumped by the handwheel.  I am trying to remove it for a thorough cleaning.  On this
Domestic the treadle belt track is on a separate wheel behind the outer handwheel.  Neither one is coming off at the moment.

The normal thing to do would be to remove the clutch knob, right?  Well, this clutch knob is not budging.

the green one SHOULD say "pin on the clutch knob" rather than "clutch know"

Problem is, there are two pins, one on the handwheel and one on the clutch knob.  When you turn the clutch knob to the left, as you would normally do to remove it, the handwheel pin is in the way of the clutch knob pin and will not let you unscrew the clutch knob.


When you rotate the clutch knob to the right, they move apart from one another and this is also the motion to lock the handwheel to the treadle belt wheel so that they move in unison. 


I thought maybe I had it figured out when I found a screw in the handwheel and removed it.  But that changed nothing.  Both wheel spin fairly freely, but they are not coming off of the shaft.  I have looked for additional screws but found none.

Help!  Anyone?  I've done the usual with Liquid Wrench, heat from a blow dryer, etc.  Nothing changes.  Do I need the brute force method?  Whack it with a large hammer?  It is not budging in the slightest way at the moment--no wiggle to it at all.

Unrelated to the problem, but interesting:  there is a date visible on the inner (or machine-facing) edge of the treadle belt wheel.  Frustratingly, the year is not visible.

Does anyone have something similar?  Does yours also say Oct. 15th?  Does it have a year?


Any information gratefully received.  thanks in advance!